
In the beginning...
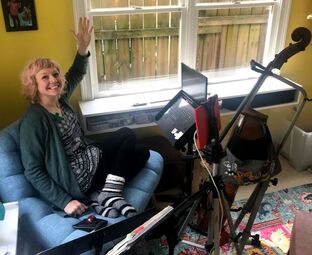 My new virtual studio
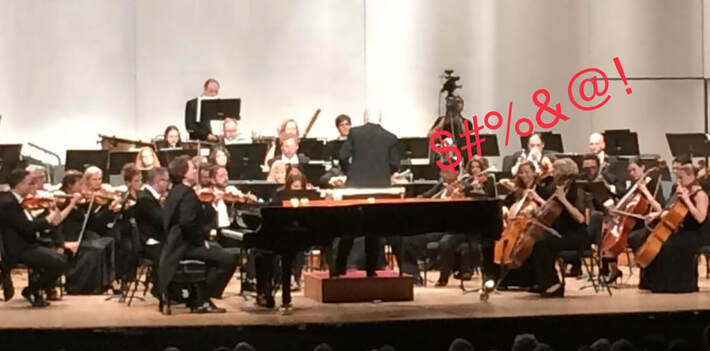
 This picture was taken mid-March, just after that one crazy weekend where all my imminent and future gigs simply evaporated. I couldn't blame the powers-that-be. Their decisions were difficult and meant to keep everyone safe.
But my musical life - as I had known it - was over. Or on pause? No one really can say what the future holds at this point.
My husband saw it coming. He runs a wildlife rehab center, and he had been planning for this since February. He had stages of practical protocols which he had been implementing for weeks. These protocols are the reason the center is still in operation as I write this today.
(Side note: As my performance opportunities diminished, my volunteer responsibilities at the wildlife center increased. Check out this video of a day in the life of an "outdoor-only" volunteer, ME!)
While I'm on a tangent...
Click this button to watch a Celli benefit concert we put on via Facebook Live that fateful weekend.
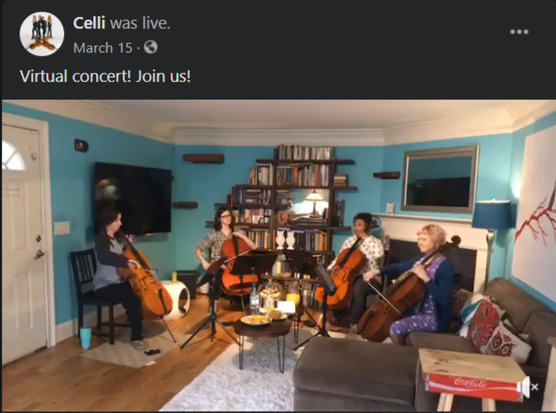
We had so much fun, but didn't know we wouldn't again be able to play together for months...
Back to the story...
As I realized that in person lessons were too risky, I scrambled to poll my students:
Are you willing and able to keep going with your lessons via Skype?
Thankfully, most of them were.
Are you willing and able to keep going with your lessons via Skype?
Thankfully, most of them were.
| I was able to gather up all my hardware and do a bit of research into how to make this work. I had done some Skype lessons before, but this was much more intense. 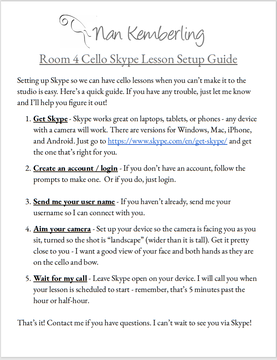 My emergency Skype instructions | 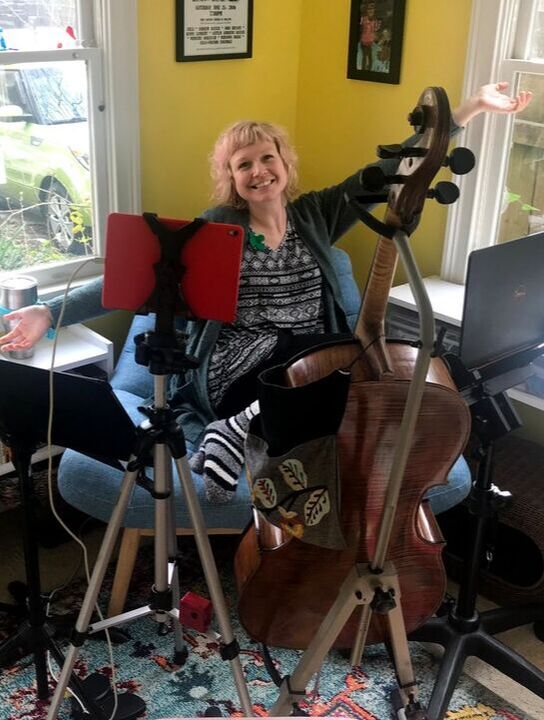 Trying to stay positive in the face of uncertainty |
And then...
A student and friend asked me to play a solo concert over Zoom.
How on earth would I manage that? I would need to practice a ton, but also figure out how to wire myself up for optimal sound quality. Ugh.
I had started dabbling a bit with Zoom once I bit the bullet and signed up for a professional account. I use it all the time now, for most of my lessons, and virtual ACE rehearsals as well. But I wasn't sure at that time how to navigate all the customizations.
Luckily, a student of mine who works in the tech industry generously offered to give me a tutorial. (I am forever grateful, Patricia!)
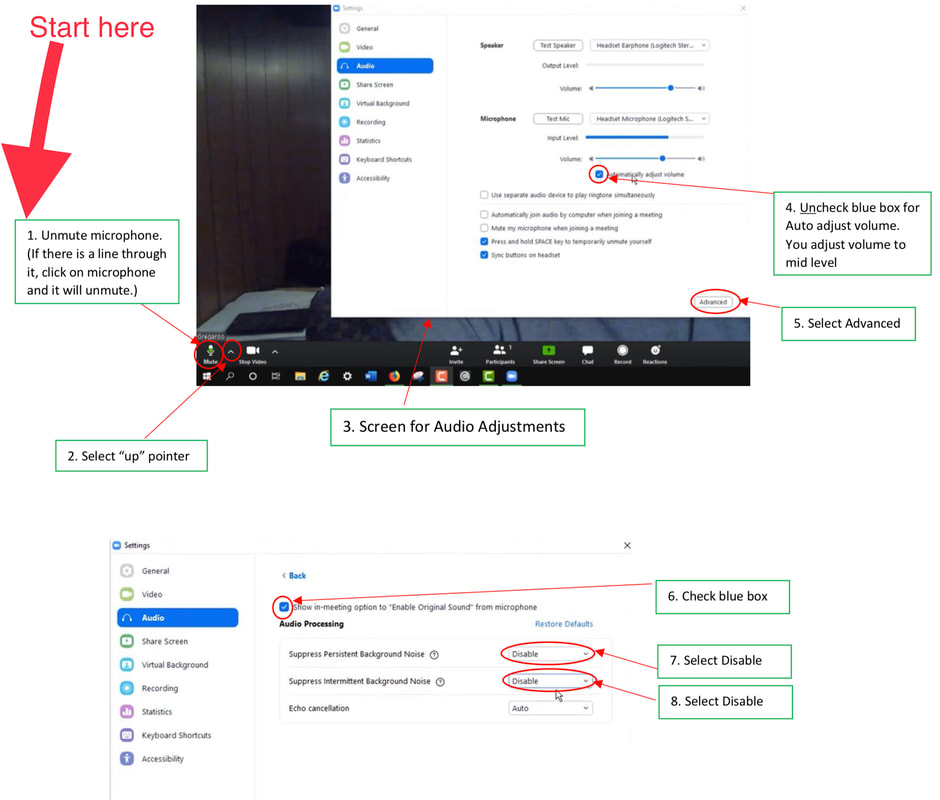
And then another student shared an easy tutorial as one photo (Thanks, Karen!), that together with my own material, I will share with you below, so you can have an easy time setting up your Zoom and making it just perfect for cello.
Here are the easy steps you can take to sound your best over Zoom (without fancy microphones):
How on earth would I manage that? I would need to practice a ton, but also figure out how to wire myself up for optimal sound quality. Ugh.
I had started dabbling a bit with Zoom once I bit the bullet and signed up for a professional account. I use it all the time now, for most of my lessons, and virtual ACE rehearsals as well. But I wasn't sure at that time how to navigate all the customizations.
Luckily, a student of mine who works in the tech industry generously offered to give me a tutorial. (I am forever grateful, Patricia!)
And then another student shared an easy tutorial as one photo (Thanks, Karen!), that together with my own material, I will share with you below, so you can have an easy time setting up your Zoom and making it just perfect for cello.
Here are the easy steps you can take to sound your best over Zoom (without fancy microphones):
On a computer
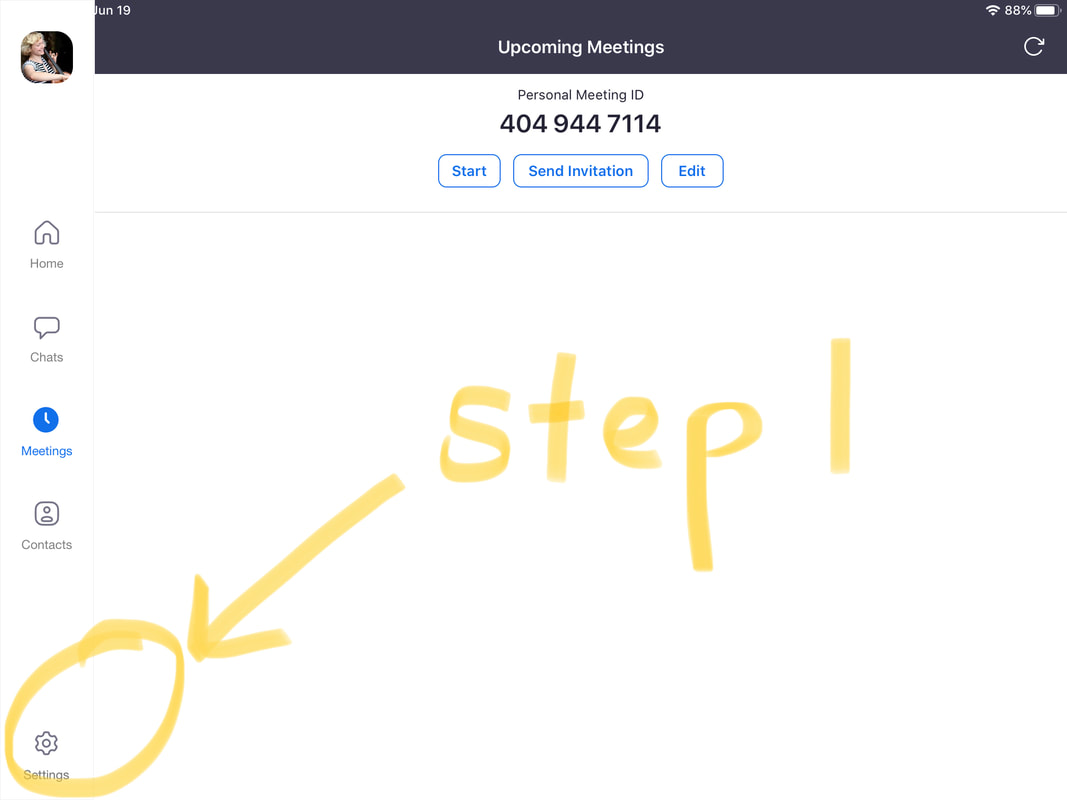
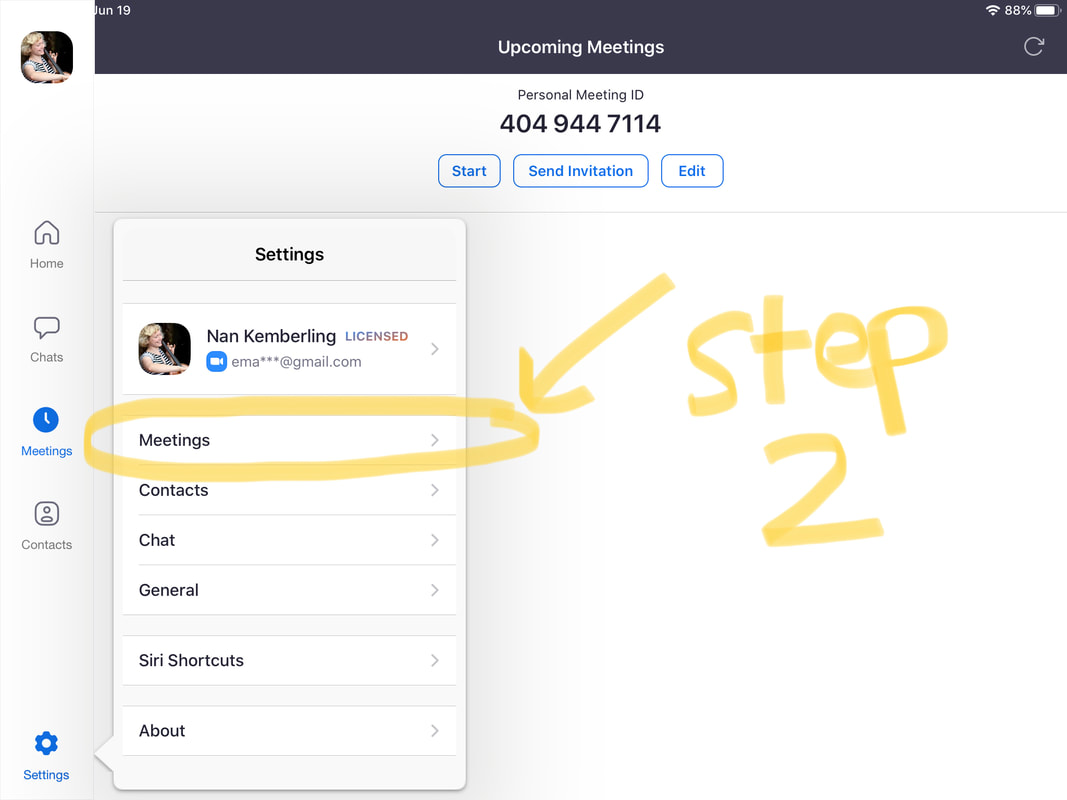
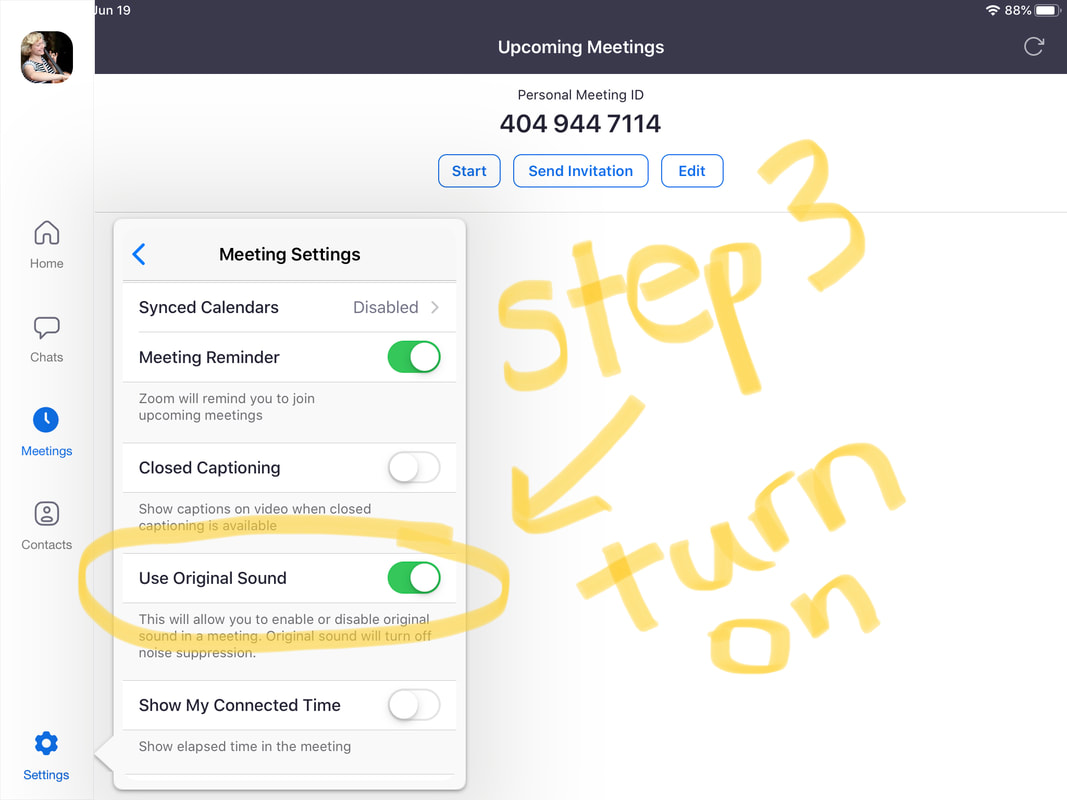
Or on a tablet
That's it. Easy peasy, right? It's really just a few tweaks and it helps so much!
Now, I did end up setting up a vocal mic for talking and my Remic C5300 to capture my cello sound, but unless you are giving a concert over Zoom, you can do without all the tech.
Now, I did end up setting up a vocal mic for talking and my Remic C5300 to capture my cello sound, but unless you are giving a concert over Zoom, you can do without all the tech.
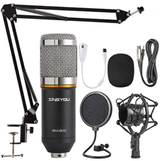 ZINGYOU Condenser Microphone Bundle from Amazon | 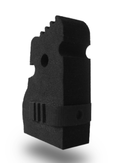 Remic C5300 |
The concert went so well and was incredibly fun! If you're interested, check it out HERE or below. My hosts recorded all but the very first few notes.
Nowadays...
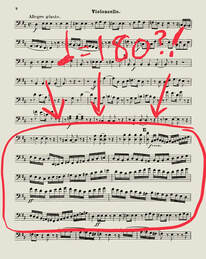
| Today, I've gotten used to teaching online, and I have a routine. I get up and practice. No concerts on the horizon to practice for, so I am getting to explore things I haven't had the time to look at:
|  |
(In the first days of the lockdown, I read Galina, in which I learned more about Shostakovich's plight in Russia during his lifetime through the recollections of Rostropovich's wife, an amazing woman who was herself a famous opera singer. There was also a good bit about Britten in there, since they were very good friends. I learned so much and highly recommend this book!)
After practicing, I do some computer work at my treadmill desk (exercise definitely helps my state of mind), and then I teach in the afternoon/evenings.
After that is dinner with a TV show. Not sure what I am going to do once I am done with all the available episodes of The Great British Bake-Off!
What have you been up to and how are you coping with the new Covid lifestyle? Please let me know in the comments.
| P.S. I also released 12 pop songs this summer, each with a music video that I made myself. Check them out HERE. I had to do something besides voluteering and teaching! |  |

 RSS Feed