
PLAYING THE CELLO BY ACCIDENT:
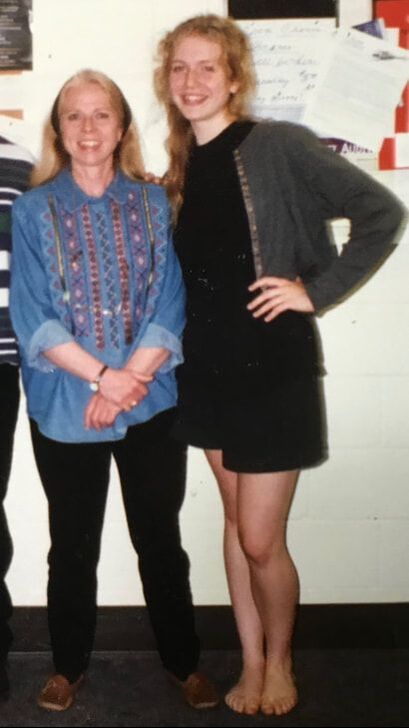 Martha by my side | When I first started studying with Martha, she told me I needed to "stop playing the cello by accident.” I don’t think I completely understood at the time what she was getting at, but now it is so clear to me that in my foggy youth I was just letting my arms do what they had always done and hoped they would serve me well. Long story short: They didn’t. Turns out sawing back and forth without really listening to the sound is not the best option! At first, I was adamant about the fact that I was listening, and it sounded fine to me. But then, upon Martha's insistence, I finally recorded myself and was horrified at what I heard when I played the recording back. The unchecked speed changes of my bow made unintentional swells and jagged dynamics. Admittedly, sometimes you need those things, and it really would have been fine if that's what I had intended. But this felt like I had a bow arm that wasn't attached to my brain. It seemed like it was connected to the mind of an impulsive toddler! Luckily, I had Martha by my side to help guide me through this awakening. |
I see this phenomenon everyday still, both in my students and in myself: Willy nilly sawing back and forth.
This is what kills phrasing and make the cello sound robotic and alien!
In order to sculpt phrases that will make people cry (that’s always the goal, isn’t it?), we need to disrupt our automatic motions. Let’s get back to the basics!
CULTIVATING YOUR BASIC SOUND:
In order to sound your best on the cello, you must first get rid of any accidental changes in volume or tone so you can create a basic block of sound. Then you can carve out phrases from that basic sound deliberately.
Not by accident!
The three pillars of a solid BASIC SOUND:
Once you have spent so much time focusing on these factors that they start to feel easy, you are ready to move on to adding a layer of bow sophistication.
- Finger Flexibility (try the windshield wipers exercise at right)
- Straight bow (try the table glides exercise in my other blog post)
- Stick tilt (see the stick tilt section of another of my blog posts)
Once you have spent so much time focusing on these factors that they start to feel easy, you are ready to move on to adding a layer of bow sophistication.
UTILIZING TONE VARIABLES:
- Placement (where the bow is on the string in relation to the bridge)
- Weight (how much arm weight you transfer to the bow)
- Speed (how fast you move the bow across the string--not to be confused with tempo! For example, fast notes can be played with a slow bow speed by using a very small amount of bow)
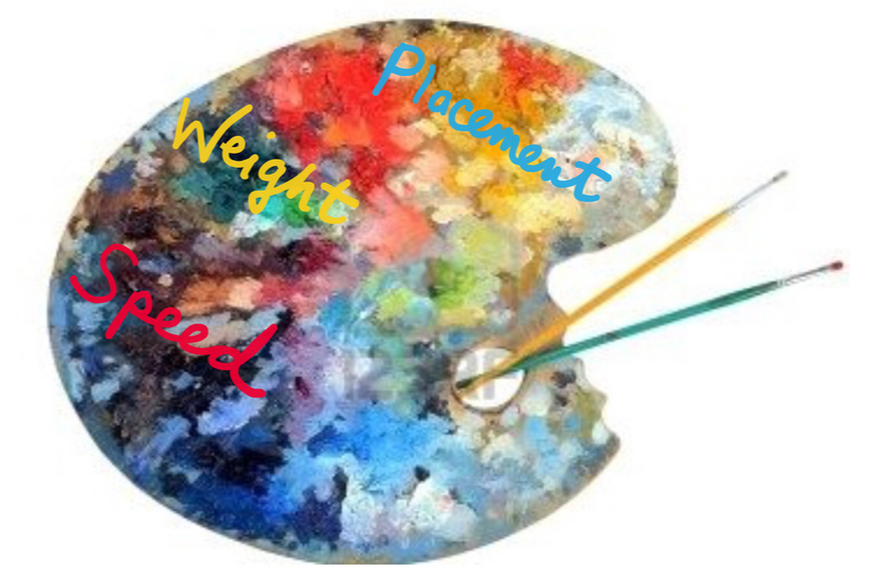 | Some of you may remember my recent blog post on these variables. For those of you who haven't seen it, here's a link: BLOG POST ON TONE VARIABLES These will be so important to keep in mind as we proceed. |
BOWING BY NUMBERS:
In order to increase your awareness of what your bow arm is doing, it helps to have exercises you can work on without being distracted by left hand issues.
That's exactly what this number-based bow exercise below is for. Think of it as Sudoku for your bow! It mimics real life bow-usage issues but subtracts the distraction of the actual music.
Each number in the following grid stands for how many beats an open-string note should be held (in one bow). It will be up to you what tone variables you tweak in order to maintain a beautiful sound. And that's the only goal--a beautiful sound for each number, whatever it takes.
Remember, listen carefully. Your ear is your best teacher!

Of course, there are rules for you to follow with this exercise:
- Use metronome (I like 60 bpm)
- Play loud (try your best to match the previous bow's loudness)
- Use whole bow
- Use consistent speed in each bow*
- Change bow without accent*
*rules 4 and 5 are more advanced and can be added as you gain confidence in your control
At first I would try to play one number and get comfortable with that. Pick one of the middle strings (D or G, since they don't require a lot of extra work to keep the bow straight like the outer strings seem to) and experiment with the placement, weight and speed until you get a nice tone using the whole bow.
Let's say you start on the second line with the number 2. That means you would manage the placement, weight, and speed in such a way that you not only achieve a good tone but the second click of the metronome occurs in the middle of the bow.
Play a bunch of 2's in a row until it feels easy.
Then move on to a 4 (the second number in that line). Again, alter the placement, weight, and speed so that you have a nice sound, but this time the third click of the metronome should occur at the midpoint of the bow.
That feels different! You probably have to move your placement a bit, maybe get more weight into the hair, slow down the speed.
Do a bunch of 4's then until that is comfy.
Then try to recall the feel of a 2. Can you play a 2 and then a 4 in a row and still have a beautiful tone?
Imagine how much your right arm and hand are learning with all this attention!
Perhaps you prefer to play numbers 1 through 9 in consecutive order so you can make smaller changes at first. That would be helpful. Then try skipping a number. Then try two of the numbers above. Then add more numbers in that row. Play any row backwards. Diagonally. Use the Sudoku puzzle in the paper that you finished this morning. Make up random numbers.
Would lottery numbers work? Hmmmm....
Then once you are feeling amazing about your bow control, add some extra credit:
- Use only a portion of the bow (bottom half or upper half for example)
- Add string crossings so each number is on a different string (crossings sometimes cause inadvertent speed changes)
Above is a worksheet for you to use in your practice. I hope this exercise helps you as much as it has helped me!
Please comment below and let me know how it's going or what you have found helpful in your fight to tame the wild bow.
Happy practicing!
Please comment below and let me know how it's going or what you have found helpful in your fight to tame the wild bow.
Happy practicing!


 RSS Feed